
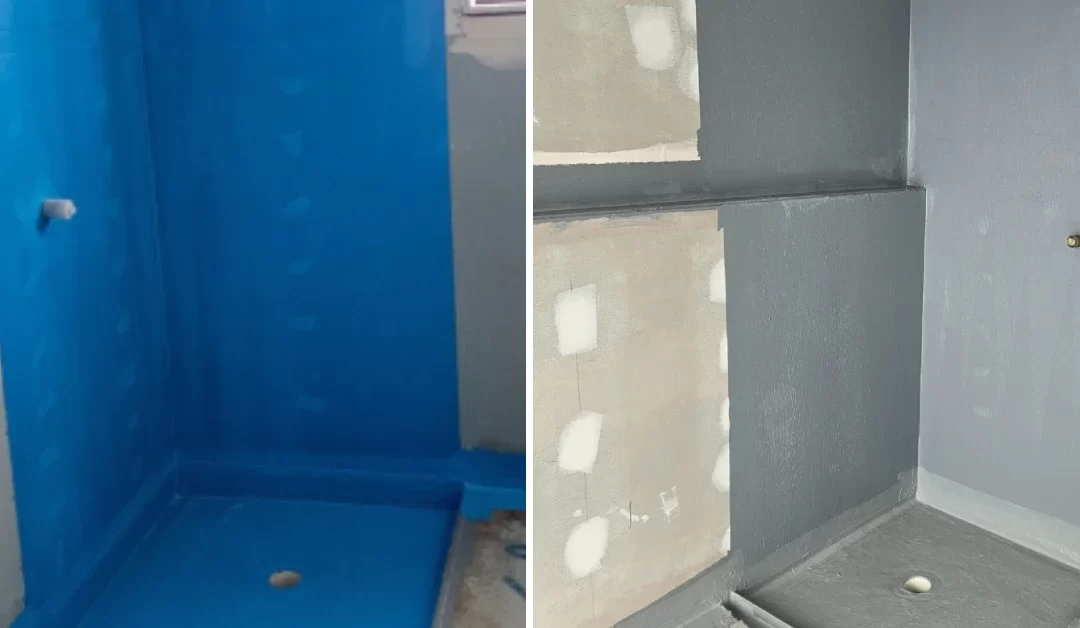
A failed shower waterproofing project can damage walls, floors, and your home’s structural integrity. Fortunately, not every situation requires tearing out your entire bathroom. This guide can help you repair the problem efficiently and avoid a full-scale renovation.
1. Identify the Source of the Leak
Before rushing into repairs, pinpoint precisely where the water is escaping. Look for cracked grout, broken tiles, or gaps in silicone. Sometimes, the issue is confined to a small section of the waterproofing membrane, making it easier and more cost-effective to fix.
2. Remove and Replace the Affected Area
If the problem is localised, carefully remove the damaged tiles and expose the faulty waterproofing layer. Replace or patch the compromised section, then reinstall matching tiles. This method reduces costs, avoids disrupting the whole bathroom, and restores your shower’s protection.
3. Reinforce Seals and Grout Lines
Once repairs are complete, inspect all surrounding joints and grout lines. Reseal corners, edges, and transitions between tiles to prevent water from seeping again. Using high-quality sealants and shower waterproofing membranes can extend the life of your waterproofing.
4. Improve Bathroom Ventilation
Moisture build-up can weaken waterproofing over time. Ensure your bathroom has adequate ventilation. You can install an exhaust fan or windows to reduce humidity and prevent mould growth.
Act Before It’s Too Late
A failed shower waterproofing system won’t fix itself. The earlier you address the issue, the easier and cheaper it is to repair it without complete demolition. For the best results, arrange an inspection with a qualified waterproofing specialist to protect your home and keep your shower watertight for years. Contact us now!