
Lateral Joint Sealing Systems are specialized engineering solutions designed to waterproof, seal, and protect the joints where two structural elements meet—specifically in horizontal or “lateral” applications. These systems are critical in construction to prevent water ingress, accommodate structural movement, and protect against chemical or environmental degradation.
Where it’s used
You’ll see lateral joint sealing systems in:
- Concrete slabs (e.g., basements, podium decks)
- Retaining walls
- Tunnels and underground structures
- Water tanks, pools, and wastewater facilities
- Precast panel joints
Why it’s needed
Concrete joints are inherently vulnerable because:
- They are points of discontinuity
- They experience movement (thermal expansion, shrinkage, structural load)
- They can allow water ingress under hydrostatic pressure
A lateral joint sealing system ensures:
- Waterproofing integrity
- Durability of the structure
- Protection against corrosion and deterioration
When a lateral joint sealing system fails, the primary goal of rehabilitation is to restore the structural integrity of the concrete slab and prevent moisture from reaching the subbase. Failure is usually marked by adhesion loss (peeling from the concrete), cohesion loss (tearing of the sealant), or spalling of the concrete joint edges.
The following strategies outline the professional approach to rehabilitating these systems.
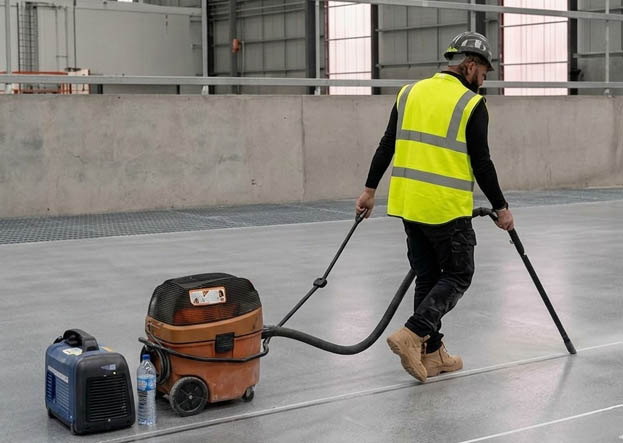
1. Evaluation and Removal Phase
Before applying new materials, the failed system must be completely decommissioned. This is the most labor-intensive and critical step for long-term success.
- Removal of Old Sealant: Existing materials are removed using specialized joint plows, diamond-blade saws, or hand tools. Residual sealant can act as a bond-breaker for new materials.
- Joint Refacing: If the concrete edges are rounded or chipped (spalled), the joint must be “sawn-out” or widened slightly using a diamond blade. This creates clean, vertical concrete faces for the new sealant to grip.
- High-Pressure Cleaning: Joints are sandblasted or air-blasted to remove micro-dust. A simple “wipe-down” is usually insufficient for industrial or civil applications.
2. Common Rehabilitation Methods
The strategy chosen depends on the severity of the joint damage and the expected movement of the slabs.
| Strategy | Application | Description | |
| Partial-Depth Repair | Spalled Joint Edges | Damaged concrete near the joint is removed and replaced with high-strength elastomeric concrete or epoxy mortar before resealing. | |
| Stitch & Seal | Cracked Slabs | If the concrete joint failure has led to structural cracking, steel “staples” are used to tie slabs together, followed by a flexible sealant application. | |
| Over-Banding | High-Traffic Areas | A wider application of sealant that covers the joint and overlaps the concrete surface (common in asphalt-to-concrete transitions). |
3. Engineering the New Seal
To prevent a repeat failure, the rehabilitation must address the Shape Factor. The shape factor is the ratio of the sealant’s width to its depth.
- The Rule of Thumb: For most elastomeric sealants, the width-to-depth ratio should be 2:1. If the sealant is too deep, it cannot stretch properly and will tear (cohesion failure).
- Backer Rod Installation: A closed-cell polyethylene foam rod is inserted to the precise depth required to achieve the 2:1 ratio.
- Bond Breaker Tape: In shallow joints where a backer rod won’t fit, a specialized tape is used at the bottom of the joint to prevent the sealant from sticking to the base, ensuring it can stretch freely.
4. Advanced Material Selection
Modern rehabilitation often moves away from basic asphalt-based products toward high-performance materials:
- Ultra-Low Modulus Silicones: These stay soft even in freezing temperatures, allowing for massive expansion without pulling away from the concrete.
- Rapid-Set Polyureas: Used in industrial warehouses or airports where “downtime” is expensive; these can be driven over within 30 minutes of application.
- Elastomeric Concrete: A hybrid of rubber and concrete used to rebuild the “shoulders” of a joint, providing a flexible yet impact-resistant edge.
Summary Checklist for Success
- Dryness: Never apply sealant to a damp joint; moisture is the #1 cause of adhesion failure.
- Temperature: Ensure the ambient temperature is within the manufacturer’s spec (typically 4°C to 35°C).
- Recessing: The top of the sealant should always be slightly recessed (3mm to 6mm) below the surface to prevent damage from tires or snowplows.
- How Remedial Concrete Joint Sealing Prevents Water Damage in Concrete Slabs?
- The High-Tech Future of Exterior Waterproofing
- Top 5 Signs Your Garage Floor Cracks Need Immediate Repair
- Interior vs. Exterior Foundation Waterproofing: Which Is Right for Your Property?