Installing tile floors requires the expertise and skills of a professional. However, some homeowners prefer to do the project themselves, thinking it would cost them less. If you are one of these property owners, here are the top 10 mistakes you should avoid during tile floor installation.
Failure to Ensure Proper Surface Preparation
Surface preparation is the foundation of a successful tile floor installation for the following reasons:
- It helps ensure the tile will adhere to the surface, preventing tiles from loosening or cracking over time.
- It creates a level and even substrate to achieve a flat surface.
- Surface preparation can also include moisture barriers or waterproofing measures, which are essential to prevent moisture from seeping through the substrate.
- It contributes to the durability and longevity of the tiled surface.
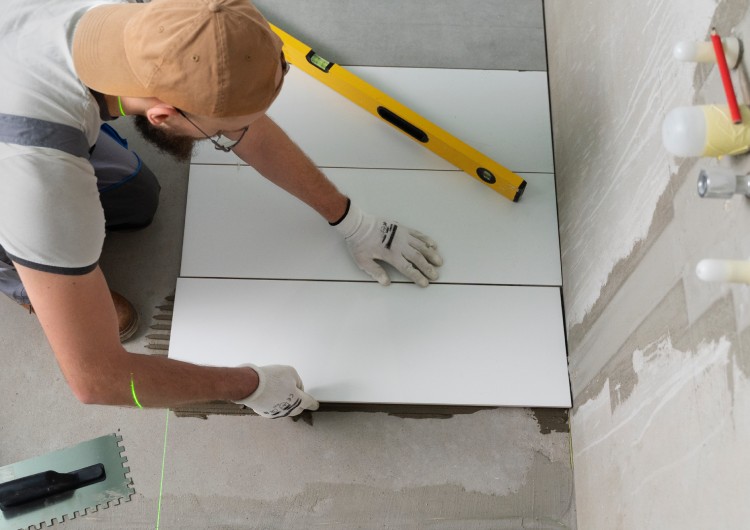
If you’re asking how to prep the floor for tile installation, note that surface preparation involves cleaning the surface to remove debris, dust, or old adhesive. When doing so, you must note that the surface should be perfectly level, as small bumps or dips can lead to uneven tiles.
For wooden floors, ensure they are sturdy and free of squeaks. On the other hand, you must also check for cracks and level them out if you’re laying tiles on the concrete.
Proper preparation prevents many future problems, ensuring a smoother tiling process.
Incorrect Tile Adhesive
Each tile type has its specific adhesive requirements. For instance, porcelain tiles often need a different adhesive than ceramic tiles. That is why you need to use the right adhesive, as using the incorrect material can result in weak bonding. When this happens, tiles may lift or crack over time.
Be sure to read the manufacturer’s recommendations, and if in doubt, consult a professional from a tiling services company for advice. You may also avail of our tile installation in Brisbane for an easier process.
Aside from the adhesive material to use, you must also make sure that you apply the adhesive correctly. Use the suitable trowel size. Remember, the larger the tiles, the bigger the trowel you need.
Inconsistent Tile Spacing
As you’ve seen in every property you step on, floor tiles always have consistent or even spacing. However, this isn’t only for aesthetics. It also affects the structural integrity of the flooring.
An even tile spacing is essential in grout application (to hold tiles together), crack prevention, allowance for movement joints, moisture control, and ease of cleaning.
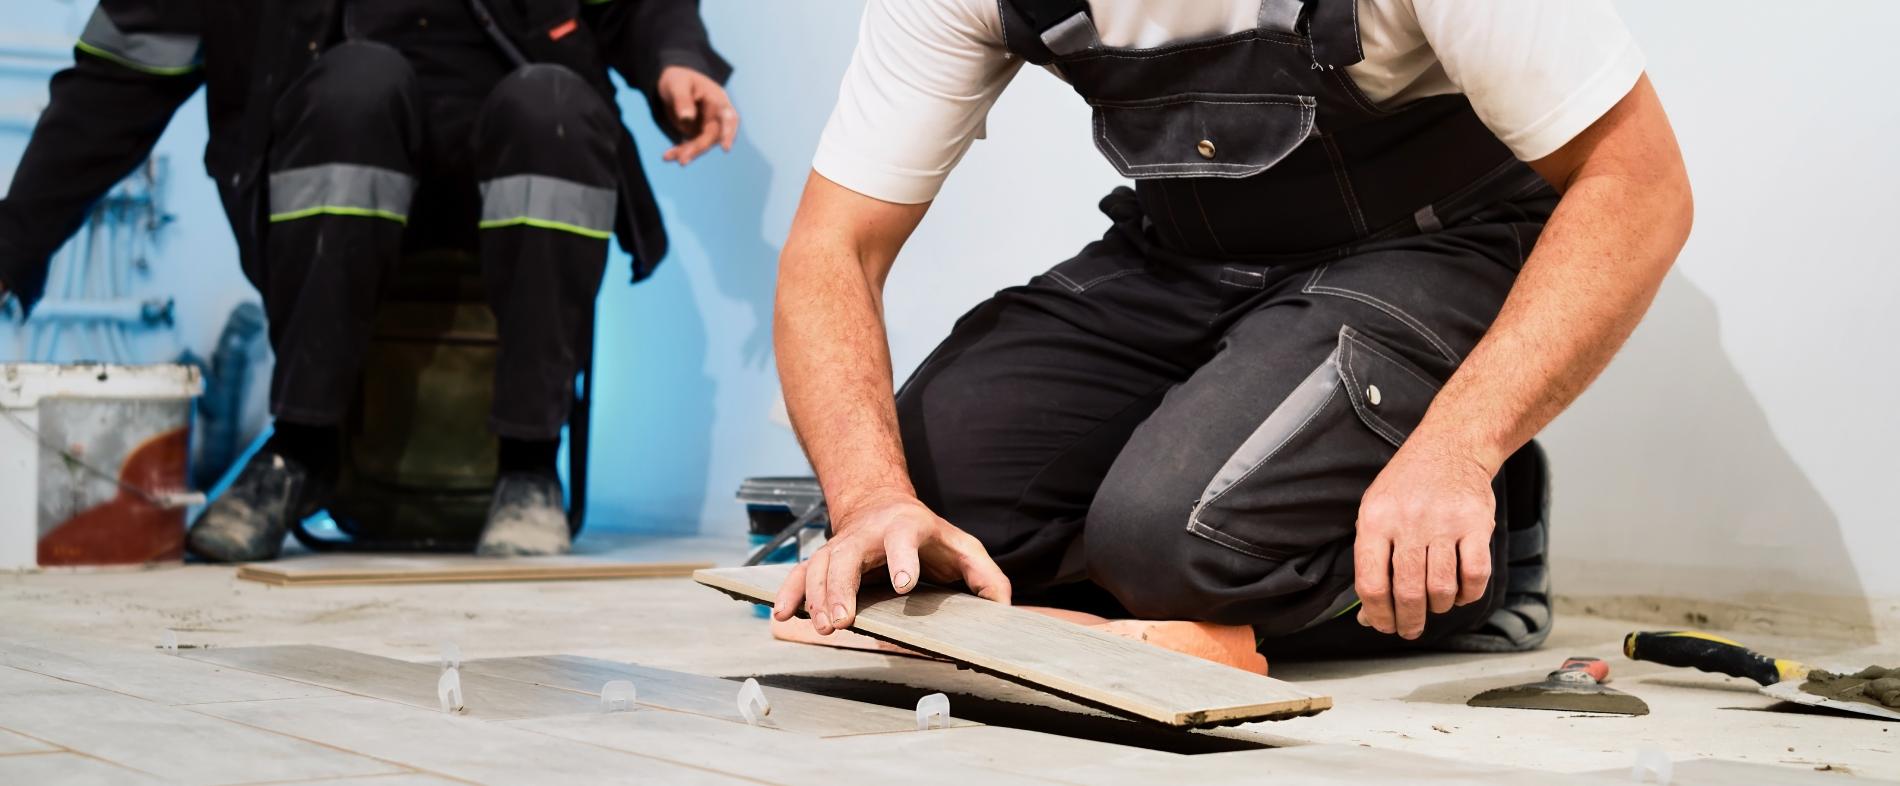
You can use tile spacers to help you maintain an equal distance between tiles.
Ignoring Tile Orientation
Tiles have respective colours and patterns. As such, many tiles also have specific orientations to ensure a consistent design and colour shading.
So, when installing tile floors, make sure to take note of their orientation, especially when they have grains or patterns that need to align. Not doing so may disrupt the visual flow of the floor, making the results look bad.
Improper Underlayment Use
The underlayment is the surface where the tiles get adhered to. Therefore, these tiles must have a smooth, stable base to ensure enough support for stability. Proper underlayment is also essential for the following:
- Crack isolation
- Moisture management
- Levelling
- Adjustment
- Longevity
- Compatibility with heating systems
Using the wrong underlayment or skipping it altogether can lead to moisture issues, mould growth, and a compromised tile bond. Make sure to choose an underlayment that suits the specific needs of your flooring area, especially if you’re installing tile floor in bathroom.
Rushing the Process
Understandably, you want the tiling process to be quick and easy. But the truth is, it takes time and patience.
You can’t rush the tiling process, as it may lead to misalignment, uneven grouting, and inadequate adhesive setting, which compromises the durability and appearance of the floor. So, make sure to have a little more patience from the start to the end of the project.
Incorrect Cutting Techniques
Sometimes, cutting the tiles is necessary to fit the spaces perfectly. Remember, there may be obstacles on the floor, such as pipes, corners, electrical outlets, and other architectural features, that you need to adjust to.
For this reason, you will need a high-quality tile cutter when installing tile floor DIY to achieve straight and clean cuts. It will also help if you practice on spare tiles to avoid tile breakage on the final pieces.
As much as possible, avoid using makeshift cutting tools because they may result in uneven or jagged edges. Use the correct type of tile cutter for the project. Various options are available: snap tile cutters, tile saws, tile nippers, angle grinders, tile scoring and breaking tools, and wheeled tile cutters.
Not Having Enough Tile
Purchasing enough tiles for the project may be the most basic thing you have to remember. However, most homeowners often overlook this.
Calculating the tiles needed for floor installation involves a few steps:
- Measure the Area: Measure the length and width of the floor area in square feet (or square meters). Then, multiply these measurements to get the total square footage of the space.
- Consider Wastage: While it makes sense to buy the exact number of tiles needed, we recommend purchasing extra tiles to account for cuts, mistakes, or future repairs. The rule of thumb is to add around 10-15% to the total square footage to accommodate waste and ensure you have enough tiles for the project.
- Account for Tile Size and Pattern: If you’re using multiple tile sizes or a specific pattern, the layout may require more tiles to accommodate the design.
Inadequate Grouting
Grouting is not just for filing the gaps between the tiles. It is also crucial for the durability of the surface. Moreover, proper grouting helps prevent water and dirt from getting underneath the tiles.
When you start grouting, mix the grout to the right consistency and apply it thoroughly into the spaces between the tiles. Then, immediately wipe away excess grout for a clean finish.
Skipping the Sealing Step During Installing Tile Floor
Specific tiles, like natural stones, need sealing to ensure durability. Sealing can also prevent stains and moisture damage. So, make sure to seal the tiles to maintain the floor’s appearance and longevity, protecting it from everyday wear and tear. Also, check if the grout may also require sealing.
Avoid All These Pitfalls Altogether with Superior Waterproofing
Our team at Superior Waterproofing follows the latest techniques and is equipped with the right skills and tools for installing tile floor. With us, you won’t have to worry about these mistakes that may affect the quality of the project. You may see our work on our Gallery Page or call us on 0468760750 to learn more about our tiling services. We’re looking forward to speaking to you!
